DIY painting can be a fun and rewarding home improvement project that can save money and give your space a new look. However, achieving a professional finish can be challenging if you don’t have the right tools or the proper techniques. This comprehensive guide will discuss the art of DIY painting and provide tips and tricks to help you achieve a professional finish.
Understanding the Art of DIY Painting
Prep Your Surface
The first step in achieving a professional finish is to prep your surface. This means cleaning and sanding the surface to remove dirt, dust, or imperfections. It’s important to patch any holes or cracks before you start painting. If you’re painting over a glossy or oil-based surface, use a de-glosser or sandpaper to create a rough surface that will better adhere to the paint.
Choose the Right Paint
Choosing the right paint is crucial to achieving a professional finish in DIY painting. You’ll need to consider the type of surface you’re painting, the color you’re using, and the type of paint you want. Water-based paints are easy to clean up, while oil-based paints offer greater durability and are better for high-traffic areas. The sheen of the paint can also affect the finish, with high-gloss finishes providing a more reflective surface that can highlight imperfections.
Applying Primer
The primer you choose depends on the type of material you are painting, as some primers may not be suitable for certain surfaces. Once you have chosen a primer, it is time to apply it to the surface being painted. The primer should be applied using a brush or roller in strokes to ensure an even coat over the entire surface. Allow the primer to dry completely before moving on to the next step.
Invest in Quality Tools
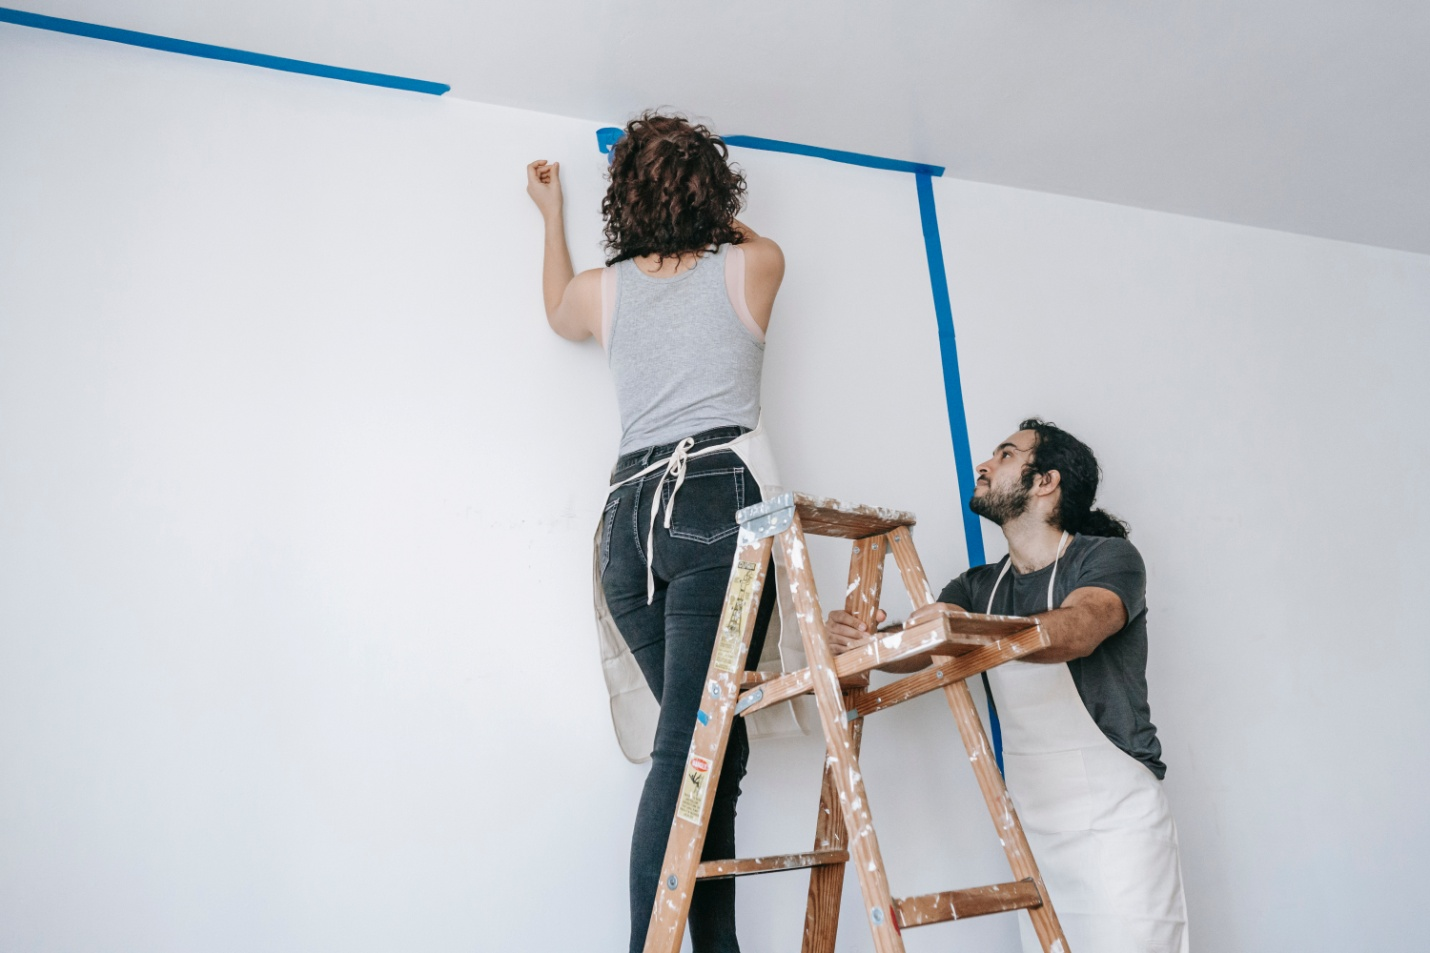
Investing in quality tools can make all the difference in achieving a professional finish. A high-quality brush or roller can help you apply the paint evenly and smoothly. A paint sprayer can provide an even smoother finish but requires some practice to get the hang of it. Using painter’s tape to mask off trim and other areas can also help you create sharp, clean lines.
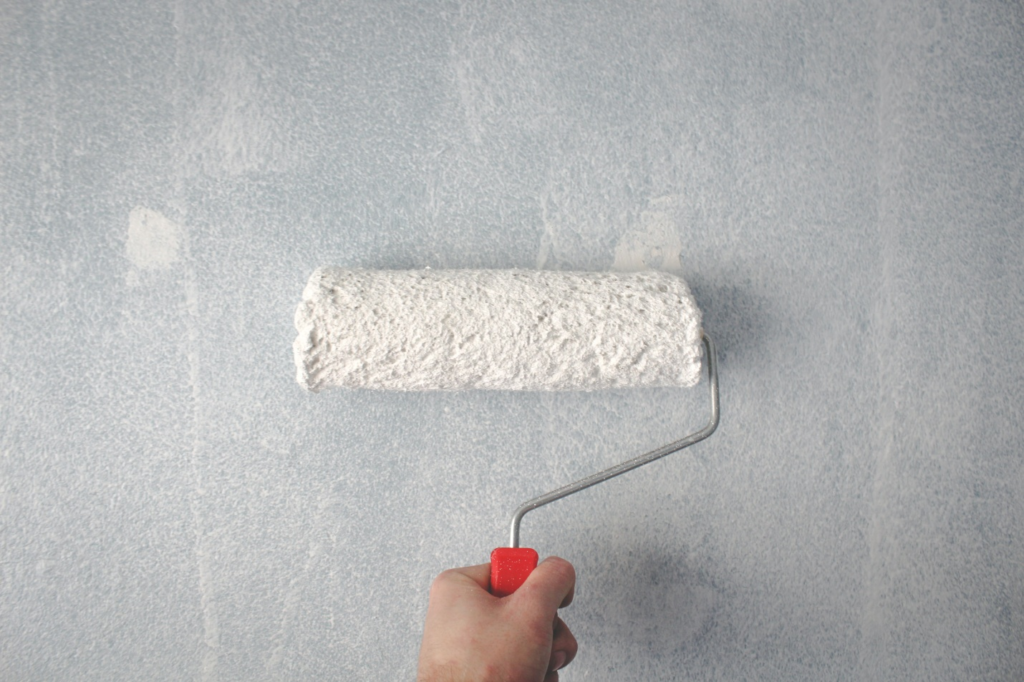
Apply Paint Properly
When applying the paint, it’s important to use the right technique to achieve a smooth, even finish. For a brush, use long, smooth strokes and reload the brush often to avoid dry streaks. When using a roller, use a back-and-forth motion to apply the paint in a W shape, then roll over the paint to even it out. Avoid applying too much paint at once, which can cause drips and uneven coverage.
Touch-Ups
Once all coats of paint have been applied, inspect your work for any areas needing touch-ups or repairs due to drips, streaks, or uneven coverage. Touch-ups can be done with a brush or roller, depending on how large they are, but make sure you allow each touch-up area to dry completely before moving on to another area.
Cleaning Up
When you finish painting, it is important to clean up all materials used during your DIY home renovation project so they remain usable for future projects. Ensure all brushes and rollers are cleaned thoroughly with warm water and soap before storing them in a cool, dry place until they are needed again. Additionally, unused paints should be stored properly so that they do not spoil over time due to exposure to heat or sunlight.
Finishing Touches
Give your newly painted walls some finishing touches by adding trim around windows, doorways, and baseboards along the bottom edges of walls where they meet flooring surfaces, such as tile or wood floors. Trim can add visual interest and depth while protecting walls from scuffs and scratches caused by furniture moving around rooms.
Let Paint Properly Dry
Lastly, properly drying the paint is key to achieving a professional finish for your DIY painting project. Most paints require at least four hours to dry between coats and 24 hours to cure fully. Avoid touching or leaning on the painted surface during this time to avoid smudging or damaging the finish. If applying multiple coats, lightly sand the surface between coats to help the paint adhere better and achieve a smoother finish.
Ready to Paint Your Home? Connect with The Home Menders Today for Professional DIY Home Renovation
Achieving a professional finish when DIY painting requires proper prep, the right paint, quality tools, proper application, and letting the paint dry properly. By following these tips and techniques, you’ll achieve a beautiful, professional-looking finish that will make your space feel refreshed and new. So feel free to tackle that home improvement project and enjoy the satisfaction of a job well done!
If you want to hone your painting skills, connect with The Home Menders today to enroll in our DIY home maintenance course.