Tile off the wall, install wainscoting
Hello, this is Dustin the Home Mender and today we’re doing the dreaded, tearing out tile halfway up the wall, tile halfway up the wall is terrible. It’s like from the fifties. And if we work together, we can stamp our tile halfway up the wall. But you’ve got to do your part. Let’s get to it.
1 Remove the vanity and toilet if needed. First thing we need to do is turn the water off to the vanity, you can close the hot side and the cold side and we’re going to need to disconnect the drain. Test it by turning on the faucet. Slow trickle? Snug it down a little bit. Now use your channel locks to disconnect my supply lines.. Now you can disconnect the trap and we might want to grab a bucket for underneath. This water is going to be gross. Don’t spill on yourself. Pull the top and the cabinet.
2 Remove the tile Now we’re ready to take the tile out. Not an easy task, but we’re going to do the best we can and try to get it off the wall without damaging the wall. Use a 6 in 1 painters tool to pop off the tile. Try not to gouge into the wall behind it. If youre keeping your floor, you may want to protect it with a drop cloth.
3 Scrape off any protruding or bumpy tile mortar We can take a paint scraper and just scrape off anything that’s protruding in. The wainscoting is going to laty flat against the wall, so any bumps will be in our way.
4 Mark the studs. Make a mark on the studs so you know where to put your nails to secure the wainsc oting. The plate at the bottom will secure the bottom of the board but the top will need to go into a stud.
Now true wainscoting, is tongue and groove style.. They lock into each other and you stack them on the wall that way. However, they only come out about thirty six or thirty eight inches tall. My tile goes up 49” so i will be using 4×8’ sheets of wainscoting paneling.
5 Layout the boards Now to decide where your boards will break. You definitely want to break the panels on a stud. Cut your 4×8 sheet in half and you’ll have (2) 48”x48” pieces. Lay out the room so the boards break at a stud and you have the best look possible…. You don’t want to enter the room and the first corner you see ro be a 3” rip. Pay attention to the pattern of the board, how they begin and end so your pattern stays consistent. And that way it looks like a continuous pattern. Dry fit your first piece.
6. Apply panel adhesive to the back of the board. Like to use liquid nails and put about 5 decent sized squeezed lines across the back of the board. Stick it to the wall and tack these in with finishing nails, the fewer nails, the better. Make sure you get your seam nailed off good, the nails at the very top and the very bottom are going to be covered by the trim.. Now you can do the poke test, see if you’ve got any air behind it. If not, you’re good to go. Fit your next piece and don’t worry about the height difference. The chair rail will cover that.
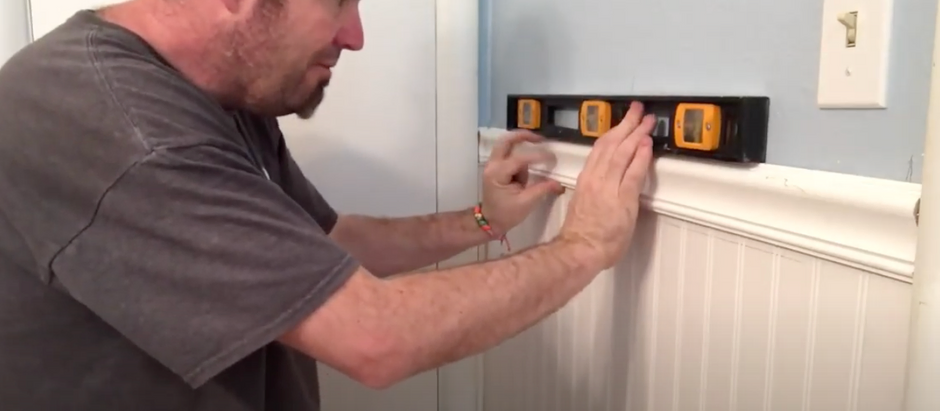
7. Install chair railTo trim out the top of your paneling or wainscoting you can use chair rail.
It’s going to cap over the ugly line. 45 your corners so they fit nicely together amnd secure with finishing nails into the studs. If you want to get fancy, you can cope the 45 shaped cut and cap over the flush cut adjacent wall.
8 Install the baseboard The base trims out the bottom of your paneling and brings the project together. Go ahead and 45 your corners or cope them in the same as the chair rail.
9 Caulk the seams Usa alex painters or some other kind of painters caulk to caulk the board seams, where the baseboard meets the wall, at the chair rail and any nail holes. Wipe with a wet sponge for a smooth professional finish. All that’s left is to paint it, preferably with a semi gloss paint so it will be wipeable. After all it is a bathroom.
That’s it! We just rocked that bathroom, tore out the tile halfway up the wall, put some wainscoting, and now you’ve rocketed this bathroom into this century.. For the Home Mender, I’m Dustin. I hope you learned something today. And if you did, don’t forget to subscribe.

