Many homeowners opt for a DIY replacement shower installation. After all, it’s a relatively quick and easy process that one can approach confidently.
However, if you’re new to DIY home improvement, here’s a quick replacement shower installation guide to help you out.
Let’s look at some steps you need to follow to complete the task.
Step 1: Gather Everything You Need for Replacement Shower Installation
The first step is gathering everything you need to start this home improvement project. You’ll need a few tools and a replacement shower kit. Some of the tools that can come in handy include the following.
- Adjustable wrench and pipe wrench,
- Screwdriver,
- Silicon sealant,
- Plumber’s tape, and
- A few rags or towels.
Step 2: Turn Off the Water Supply
Start the replacement shower installation process by turning off the main water supply. You can turn off the main supply by shutting the main water valve for your home.
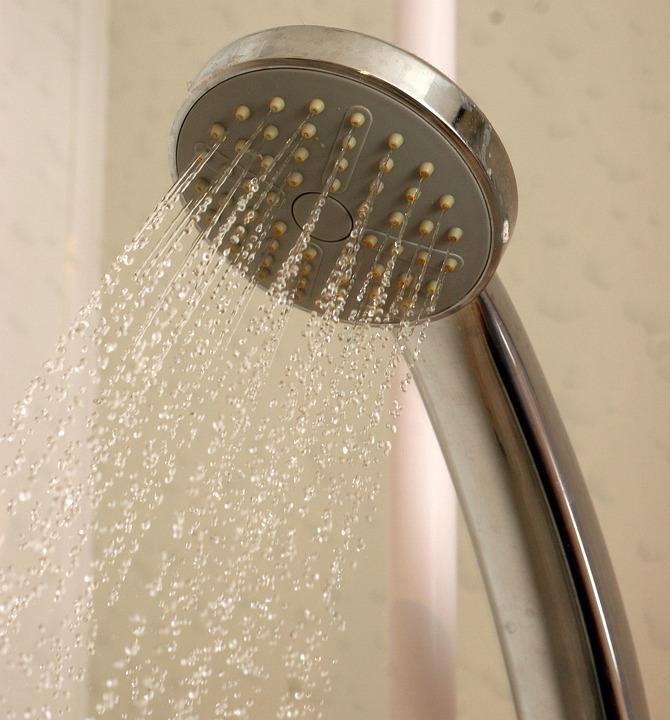
Step 3: Remove the Old Showerhead
Once the water supply is turned off, remove the old showerhead using an adjustable wrench. Remove all screws so you can easily remove the old shower.
Step 4: Follow the Instructions on Replacement Shower Kit
When you remove the old showerhead, look at the new replacement shower kit and go through all the instructions to familiarize yourself with the components and the installation process.
Step 5: Install the Shower
Use the manufacturer’s instructions to install the shower. Following the replacement shower installation, make sure you attach the water supply lines to the new shower. You will need a sealant and plumber’s tape at this point to seal the connections. Use a wrench to tighten the drain.
Step 6: Install Shower Panels
Use the manufacturer’s instructions to install shower panels. Make sure you position the panels against the wall studs using the screws provided with the kit.
Step 7: Attach Shower Accessories
After installing the shower and shower panels, use a sealant to ensure that the shower is appropriately attached.
Now attach the showerhead and all other accessories which are included with the replacement shower kit.
You can refer to the manufacturer’s instructions for appropriate installation.
Step 8: Turn on the Water Supply and Test the Shower
At this point, the replacement shower installation is complete. You can now turn on the water supply, and while you do so, make sure you check for leaks. Inspect all joints and connections and ensure that they are secure and not leaking.
In case you find a leakage in any joints or connections, make sure you reapply the sealant before you test the shower.
When you’re confident that all your shower’s joints and secure, make sure you test the shower to ensure that it’s functioning properly.
Replace Your Shower Today!
With these simple steps and by referring to the manufacturer’s instructions, you can quickly install a new shower.
If you still don’t feel confident about replacement shower installation, connect with The Home Menders and learn more about DIY home improvement projects.
Check out our website today!