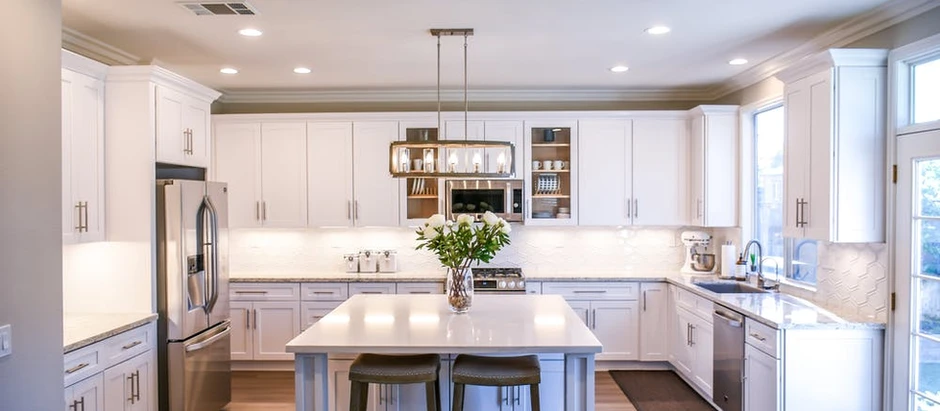
Hello, this is Dustin with Home Mender, and today we are going to be updating this hideous 1980s kitchen, not as hard as you think even if you do it by yourself. Let’s get to it.
1 Disconnect the sink, the dishwasher and the stove. I’ve got the breakers off. We’re going to also pull the hood. So I cut the breaker off at the main. That way, I don’t have to guess which ones which. Go ahead and valve off the dishwasher and the sink and we’ll get those disconnected. All right, we got the disposal disconnected, the water turned off and the sink disconnected.
We also disconnected the dishwasher.
2 Start pulling down the cabinets. Pull any trim at the top or shoe moulding at the bottom. Now we’re going to start taking screws out, be aware sometimes cabinets, if they’re installed properly, are screwed in from the cabinet to the next cabinet.
I’ve got a Phillips head screw up in the top of the wall cabinet and one in the bottom. So we’re going to pull off the top first. So the bottom screw is still holding. Then we’ll pull the bottom screw out and let the cabinet down.
After our upper cabinets are gone, we can get rid of these base cabinets. Start by pulling off the countertop. Cut the back backsplash at the wall so we don’t damage the wall tearing it out. And Go ahead and pull your Side splash if you have one, then backsplash. Check to see if our countertop is screwed to your lower cabinets. If its glued, you can just tear it out.
***Depending on how old the kitchen is the cabinets may be screwed into the wall. They may be nailed. After they are out, get your area cleaned up and ready for the install
3 mark the studs Now our cabinets are ready to go in. But first, we’re going to mark all of our studs. I like to mark the ceiling, too, just so I know where to put my stuff.
I check the level of my ceiling. If It’s perfect and the height works for you, you can use the ceiling as a guide and hang the cabinets to them. Otherwise pick your height, and screw a level 2×4 guide across the wall that your wall cabinets can rest on when installing. It also ensures they are all level.
4 Hang the wall cabinets. If there is a corner cabinet, you should start there, otherwise you can start anywhere. Check it and make sure the cabinet is plumb (level for up and down) When it’s plumb, hang the next cabinet to it and that one will be plumb also. Screw the two together. 2.5 “ screws will be able to secure them to the wall and to each other.
5 Screw the cabinets together Now we’re going to do probably the most important thing about installing kitchen cabinets. We’re going to screw the two cabinets together through the edge of the cabinet front into the next one. We want them to be on the same plane and tight up against each other with no gap. So we’re going to open the door and drill through the side of the cabinet face about an inch into the other cabinet and run two and a half inch screws. Make sure your cabinets are on the same plane when you drill the hole.
Now in the same hole drill a slightly bigger hole at the beginning of it so we can recess the heads of our screws. Install the screws. Seam is tight and we’re good to go. Check your seam and screw them together, one at the top and one at the bottom. Finish hanging the rest of your wall cabinets.
6 Set the base cabinets It’s super easy compared to what we just went through. Make sure your sink base cabinet is placed in the correct spot. I also have a stove and a dishwasher to get in here. We got to make sure all those measurements are correct before we screw these down. 30 for a stove, 24 for a dishwasher. We always measure cabinets from the front face, just leave room for the appliances. When you know they are right, screw them into the stud.
Now, if it picks up your cabinet off the ground a little bit, you need to double check for level, and shim the bottom or the wall as needed. Put them on the same plane, get them at the right height and screw them together.
7 Cut and install the kick plates. These are the little 4” rip finished pieces that go just above the floor of a base cabinet. You can measure and cut or just lay them in there, mark them, and then cut them. You can tack those down with little wire nails.
They said it couldn’t be done. One man can hang a kitchen by himself and it will be awesome. So for The Home Mender, this is Dustin. I hope you learned something today. And if you did, subscribe!

