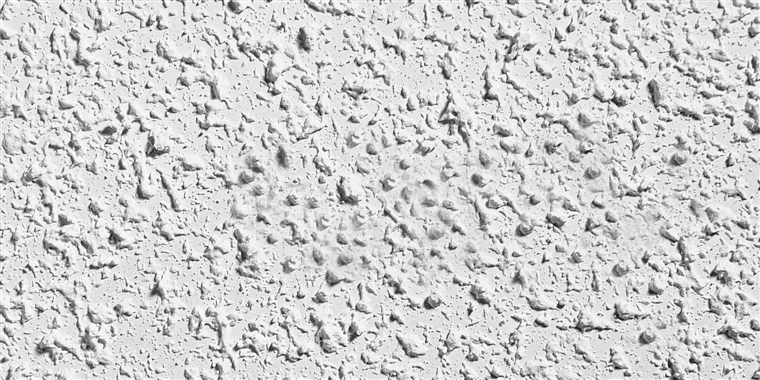
Hello, this is Dustin with Home Mender, and today we are going to be repairing a ceiling that has popcorn on it. It’s always a pain in the butt. Nobody likes popcorn. But what’s worse than popcorn is a bad popcorn repair. Let’s get to it.
1 Scape down any loose texture We already have our patch put up. First, we’re going to scrape the popcorn around the outside of the patch so we can make it nice and smooth.
Just take a wide knife and We’re going to scrape all the popcorn off. It doesn’t have to be perfect, it just has to have a smooth surface so we can mud over it without being all bumpy.
2 Tape the seams Apply the self adhesive fiberglass mesh tape to cover seams and cracks. Cut with a razor knife.
3. Apply first coat of drywall mud we’re going to mix up some powdered five minute mud in our mud pan with our mud knife.. Just add water. I’m going to do about the thickness of mayonnaise.
You can also use the Green top joint compound that’s already premixed but it wolnt dry as fast. After you have your mayonnaise mixed up. Go ahead and apply it to the joint tape. I like to do one big swoop across instead of just mudding the tape on a small patch, you just want to go one smooth motion all the way across to cover. Let that dry.
4. Feather the mud lines We’ve had a fan on it for about ten minutes. Not completely dry yet, but it’s perfect to do what we’re about to do next. When doing a ceiling repair, you want it all to blend. So it looks uniform and it’s not all lumpy at the bottom. There’s nothing worse than a bad patch. So what I like to do is before it sets all the way, I just like to take my finger and smooth out the rough edges around the sides and kind of blend it with my finger.
5. Apply a second coat Give that a few more minutes to dry , I see a little bit of a mesh tape coming through, so I want to throw another coat on those areas. Ready for our second coat? . I mix mine up a little thinner than mayonnaise the second time. I like the second coat to be a little more runny, a little more pliable. We’re going to cover those little areas of tape that have come through. You can barely see them.
And if you notice any other little imperfections, you can touch those up, too.
Note*** People believe that popcorn texture covers imperfections. It does not. It only amplifies them. So you need at least an A minus repair job before you apply the popcorn.
6 Spray the Popcorn Texture It can get a little messy., What you want to do is feather the popcorn texture out around the outer edge of the popcorn. You’re not going to stay right on the patch. You’re going to go about
six inches past the patch on all sides. Help it blend a little bit. We’re going to use some spray texture out of a can and then we’re just going to fan it back and forth. Sweep it across. Stop. sweep it across. Stop. You may want to cover your floor if needed. our product, homax is available in pretty much any box store. Looks like a giant hair mousse can, and we’re just going to fan it back and forth, create the nice even texture.
Add more coats if your texture is thicker. You would need to let it dry between coats.
The patch is complete. It’s looking awesome. The texture is pretty similar. You’re not going to notice it. Of course, that whole ceiling will need to be painted to make everything look uniform. Popcorn ceiling looks amazing and you just learned how to do it for yourself. I Hope you learned something today. And if you did, don’t forget to click subscribe.

