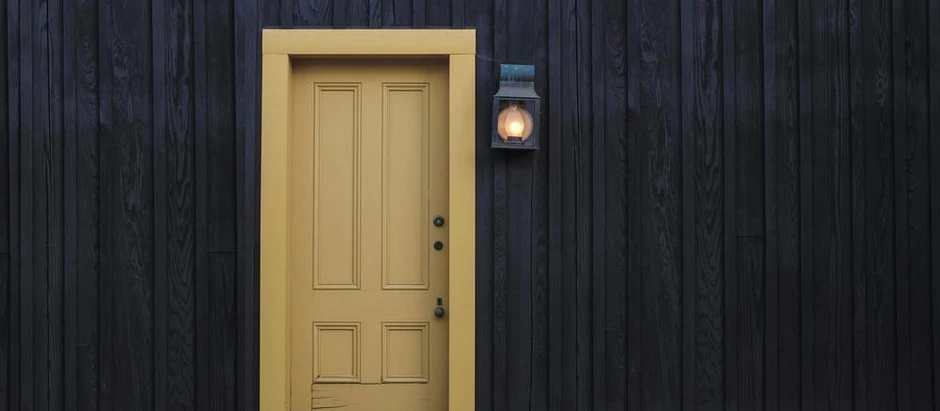
Hey, this is Dustin with Home Mender today, we’re going to be installing an entry door into the back of the property. This one’s going to swing into the house. If you want out of your current jamb, You can install your own pre hung exterior door. Easy. Let’s get to it.
***Starters tip: measuring doors. It’s really easy. You just measure the width of the door and it’s either going to come in 24, 28, 30, 32 or 36. And all the heights are generally standard.
1 Strip the door
We’re going to start by taking off the knobs and the catches. We’re going to reuse the locks. We’re going to go ahead and change everything. There’s also some room at the bottom of the doorjamb. So we’re going to get all that taken care.
2 Remove the brickmould Use your prybar (superbar) and your hammer , start pulling off the brickmould..if it’s caulked you your siding or j channel make sure you cut that caulk line so you won’t tear it up. .Take the hinge screws out to get rid of the door.
3 Pull the door jamb Sometimes they come out pretty easy. Sometimes we’ve got to cut them out, If needed, run a skilsaw through the middle of the jmab to cut it in half and pull the pieces out, the top, hinge side and threshold. Then clip all the protruding nails.
*** You don’t need no body! This is a one person job. The other day I saw three guys installing one door, and that’s just ridiculous. I. After we get all our nails for want to check the framing around there just to make sure it’s not rotting, You don’t want to install the door with your hardware on top. Take the supplied screw bag off the top of the door and Set that aside.
4 Lift the door and jamb into the rough opening. A lot of times you’ll get lucky if you’re pulling out the exact same style door and putting in the same style door. Sometimes you don’t have to pull the brickmould off. I like to try it like that first because it saves time. Once you get the door in, hold it in place and do a couple test runs, see if the door is going to open and shut freely..
5 Screw the jamb to the framing. When its opening and shutting awesome, use the provided screws and put them through the hinges. Do another test run just to make sure we’re still working good, shutting nicely. All right.
6 Shim the door Install shims , i like cedar, on the strike side of the door jamb. Shims fill the gap that would otherwise cause the screw to draw the door over out of whack. When your shims are in, pull the flap back on the weather stripping and put a screw behind it where each of the shims are. That way your screws will be hidden. You just want to keep it taught, you don’t want to push the door out when you shim. There’s a lot of give in the door still until we secure it. So you’re only going to want to fill that area. You’re not going to want to put any pressure on the jamb itself. We usually do three screws, one of the top, middle and bottom.
7 Insulate the door. **If you put your door in with the brickmould on, you may need to pull the interior trim to insulate. Use fiberglass insulation or spray foam to insulate the cracks between the house framing and your new door jamb. The spray foam can push on your door jamb if over stuffd so i like to use the fiberglass. After insulating, you should not be able to see daylight from the inside with the door closed.
Shutting properly. It’s not rubbing, doing awesome. Reinstall the door casing or brickmould If you needed to pull it off to insulate.
8 Caulk the door jamb Alex painters caulk is awesome but it does need to be painted. Caulk everywhere that has a joint then rub over it with your ¼” finger trowel. Wipe off any access with a sponge.
Seal the threshold to the ground with some exterior caulk.
9 Hardware pack your door (if it has a window) will come with ta little white nubby pack. Plastic inserts to fill the screw holes of the window frame. Get those installed and the little foam wedges are to fix the daylight on the bottom corners of the door. Just peel the sticky back and tuck it in the corner behind the weatherstripping as needed.
All right, so that concludes the installation portion and that seems pretty easy. All that’s left to do is to paint the door door jamb to protect it and we’re good to go. So for Home Mender, this is Dustin, I hope you learned something today and if you did, Subscribe! .

